【OpenGL】笔记十六、Assimp v5.2.4 编译配置(Win10 / x64 / VS2019 )
目录1. 编译库1.1 下载源码1.2 CMake编译1.2.1 Could not locate DirectX 错误1.2.2 Error Code:s10231.3 生成解决方案1.3.1 无法打开包括文件: “gtest/gtest.h”/“gtest.lib”?2. 在VS中配置库文件2.1 config.h2.2 头文件2.3 .lib 文件2.4 .dll 文件3. 尝试1. 编译库
目录
本教程只适配于项目为x64的,如不是,可以先自行修改项目为x64(x86会出现问题):
1. 编译库
学过了不同光照的渲染,接下来就轮到更多模型的拓展了,现实生活中我们不可能所有物体都是简单的立方体,还会有更复杂的模型,怎么将这些模型导入OpenGL?
Assimp,它是Open Asset Import Library(开放的资产导入库)的缩写。Assimp能够导入很多种不同的模型文件格式(并也能够导出部分的格式),它会将所有的模型数据加载至Assimp的通用数据结构中。
1.1 下载源码
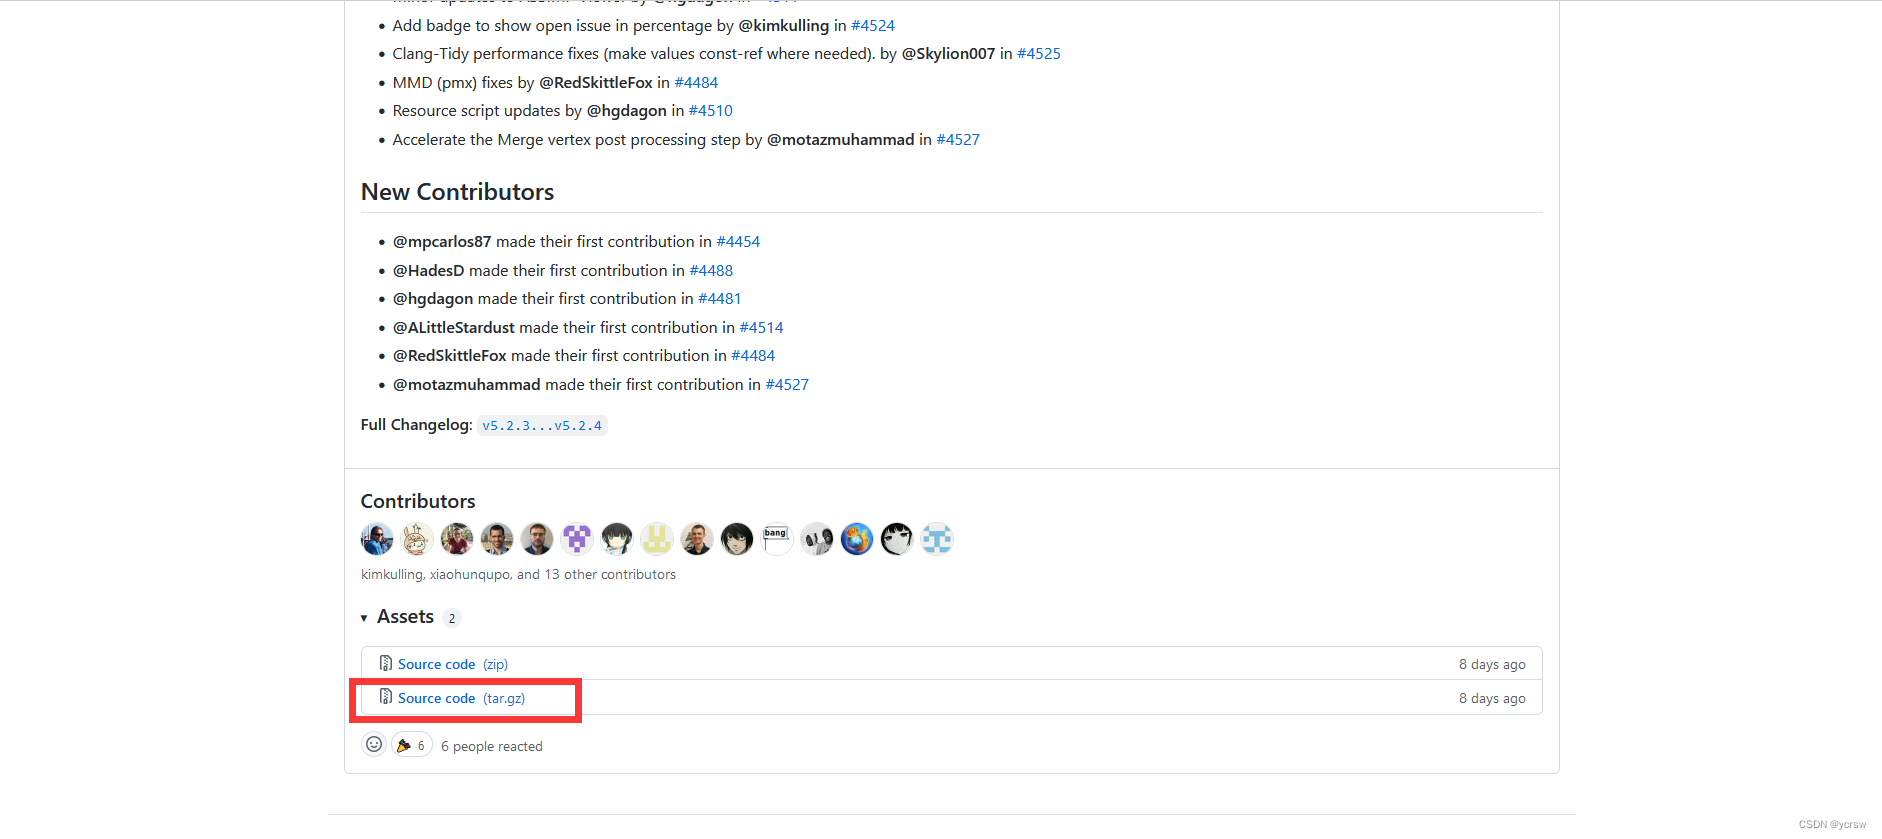
为了使用这个库,我们需要进入这个地址下载它的源码(选择第二项)
1.2 CMake编译
将下载好的文件解压后,打开之前安装过的Cmake,选择解压的目录为源代码目录,然后在该目录下创建一个build文件夹,选择它为build文件的存储路径:
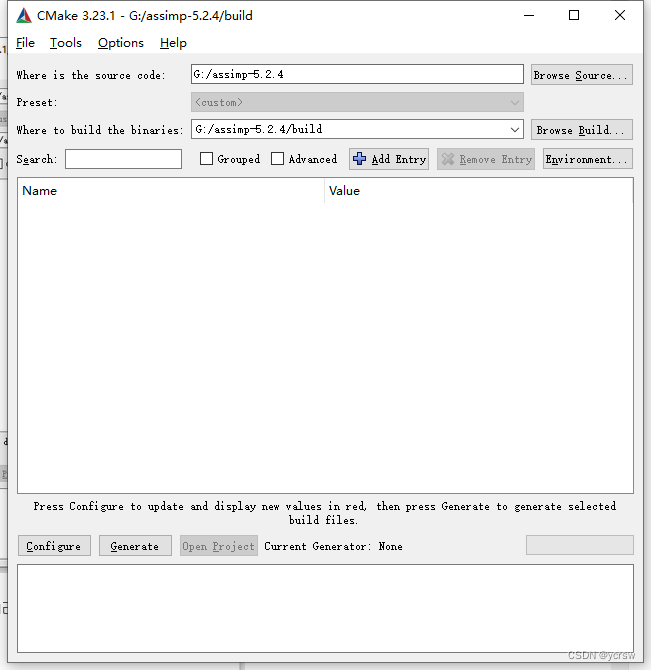
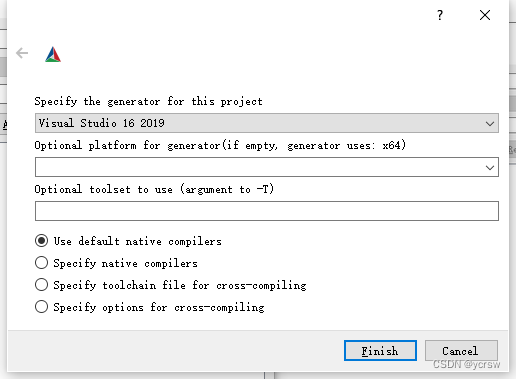
点击左下角Configure,按照自己的VS版本选择:
1.2.1 Could not locate DirectX 错误
如果出现Could not locate DirectX,请去安装DirectX SDK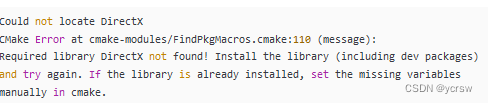
1.2.2 Error Code:s1023
安装DirectX SDK失败,出现Error Code:s1023?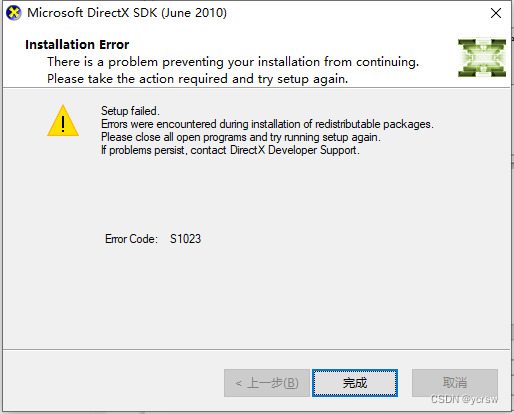
卸载所有电脑内C++ Redistributable packages: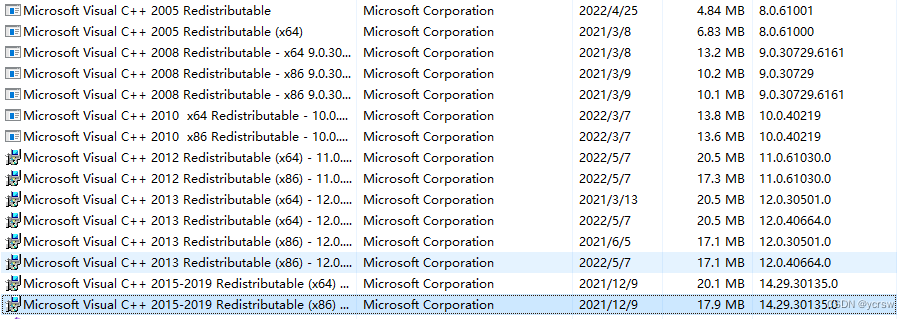
1.3 生成解决方案
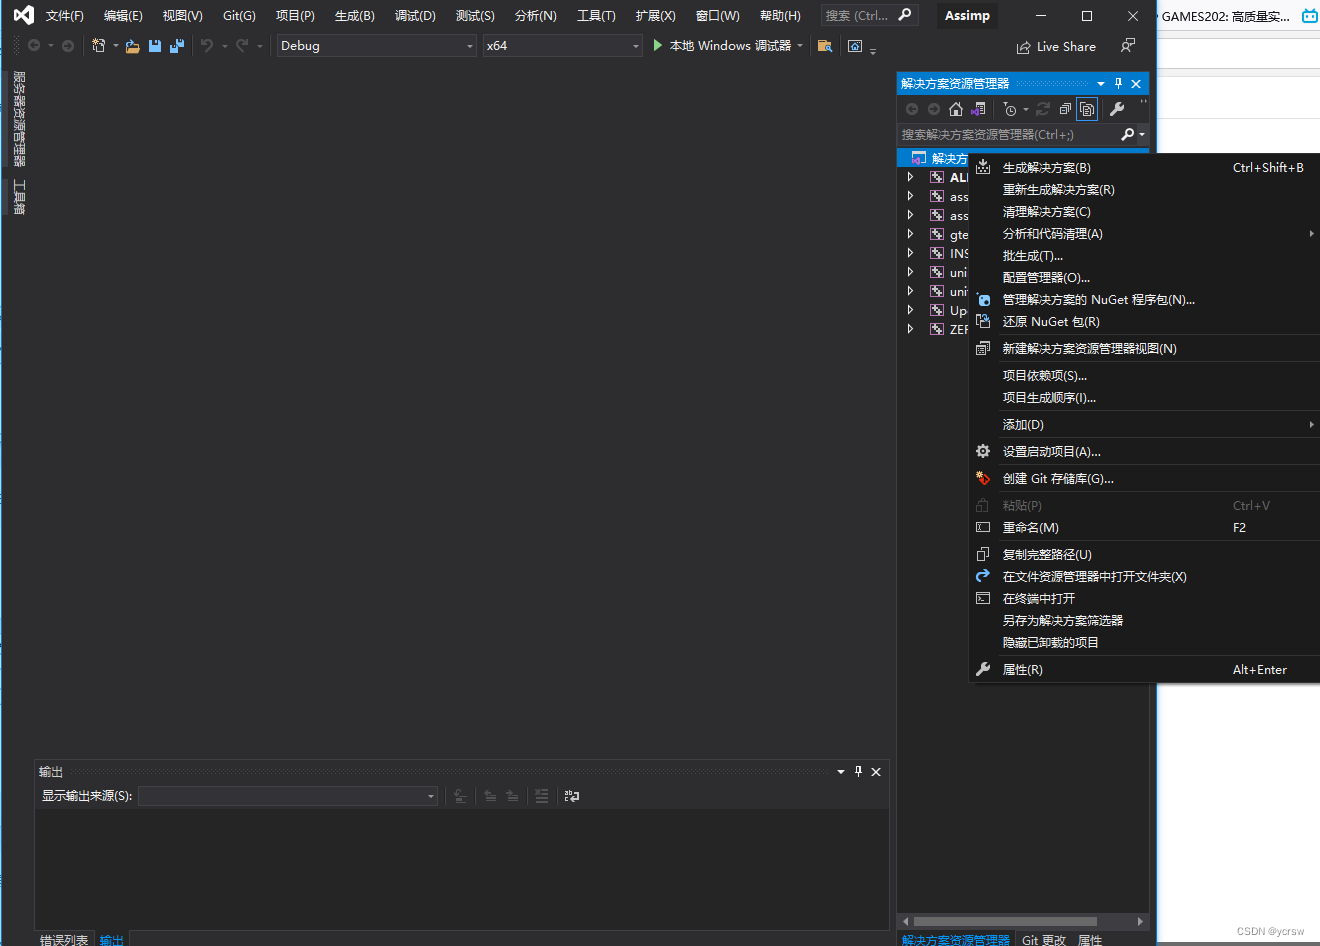
出现这个界面之后不用担心,继续往下进行就行了,点击左下角Generate,完成之后再点击Open Project打开VS,右键解决方案,选择生成解决方案: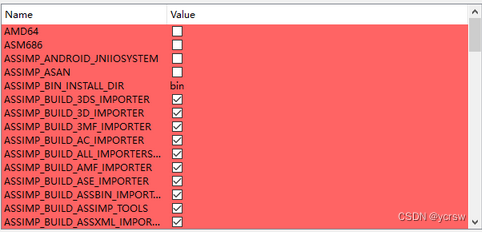
1.3.1 无法打开包括文件: “gtest/gtest.h”/“gtest.lib”?
出现无法打开包括文件: “gtest/gtest.h”或者“gtest.lib”?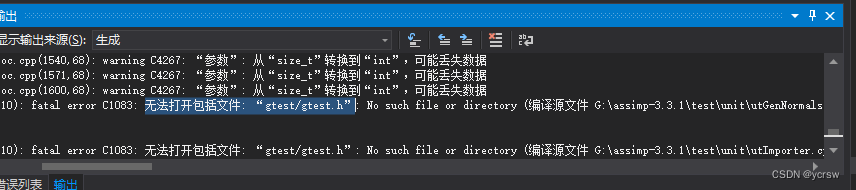
看看是不是下载的最新版的assimp库
一切无误后会出现成功提示: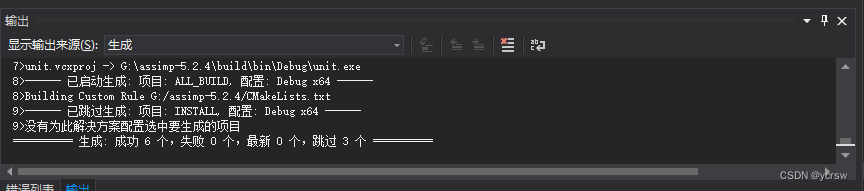
2. 在VS中配置库文件
类似我之前对GLFW等库的配置
2.1 config.h
将导出工程中build\include\assimp 的 config.h 拷到源码 include/assimp 目录中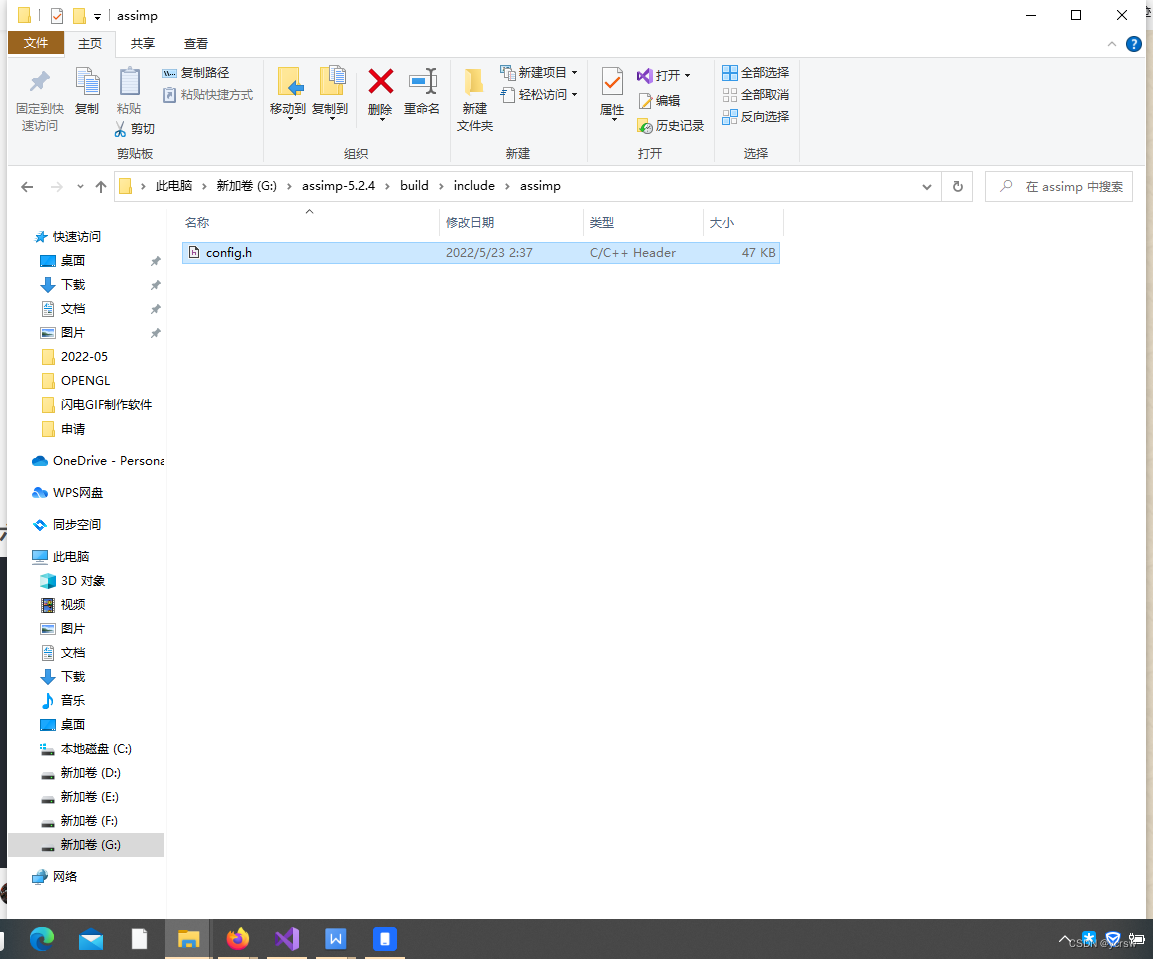
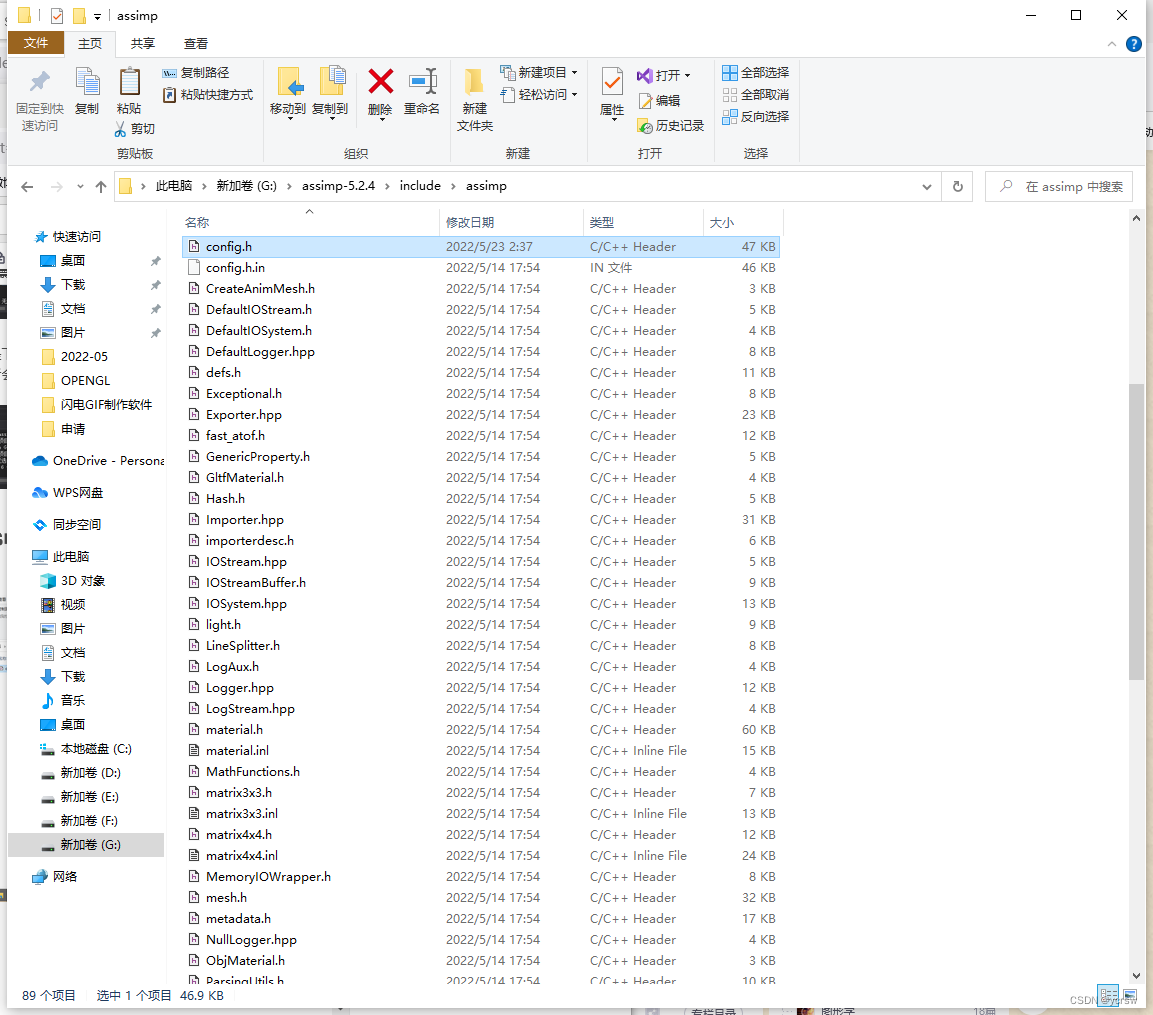
2.2 头文件
将源码 include\assimp 文件夹拷贝到 项目的include文件夹中 别忘了设置项目的附加包含目录!
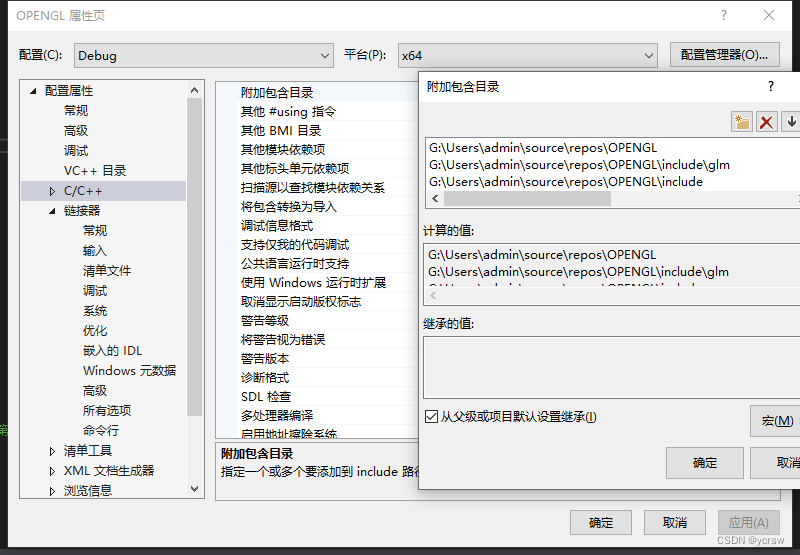
2.3 .lib和.dll 文件
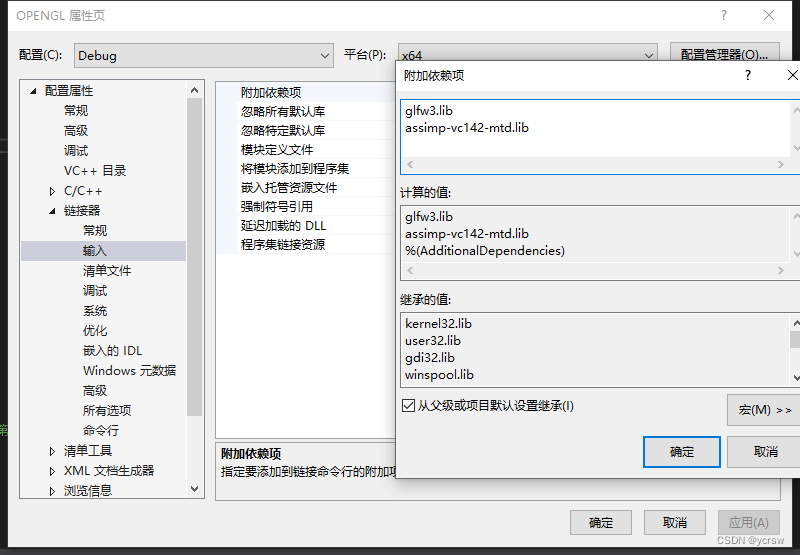
将编译好的build\lib\Debug 下的 assimp-vc142-mt.lib 和 build\bin\Debug下的assimp-vc142-mtd.dll拷贝到 项目的lib-vc2019文件夹中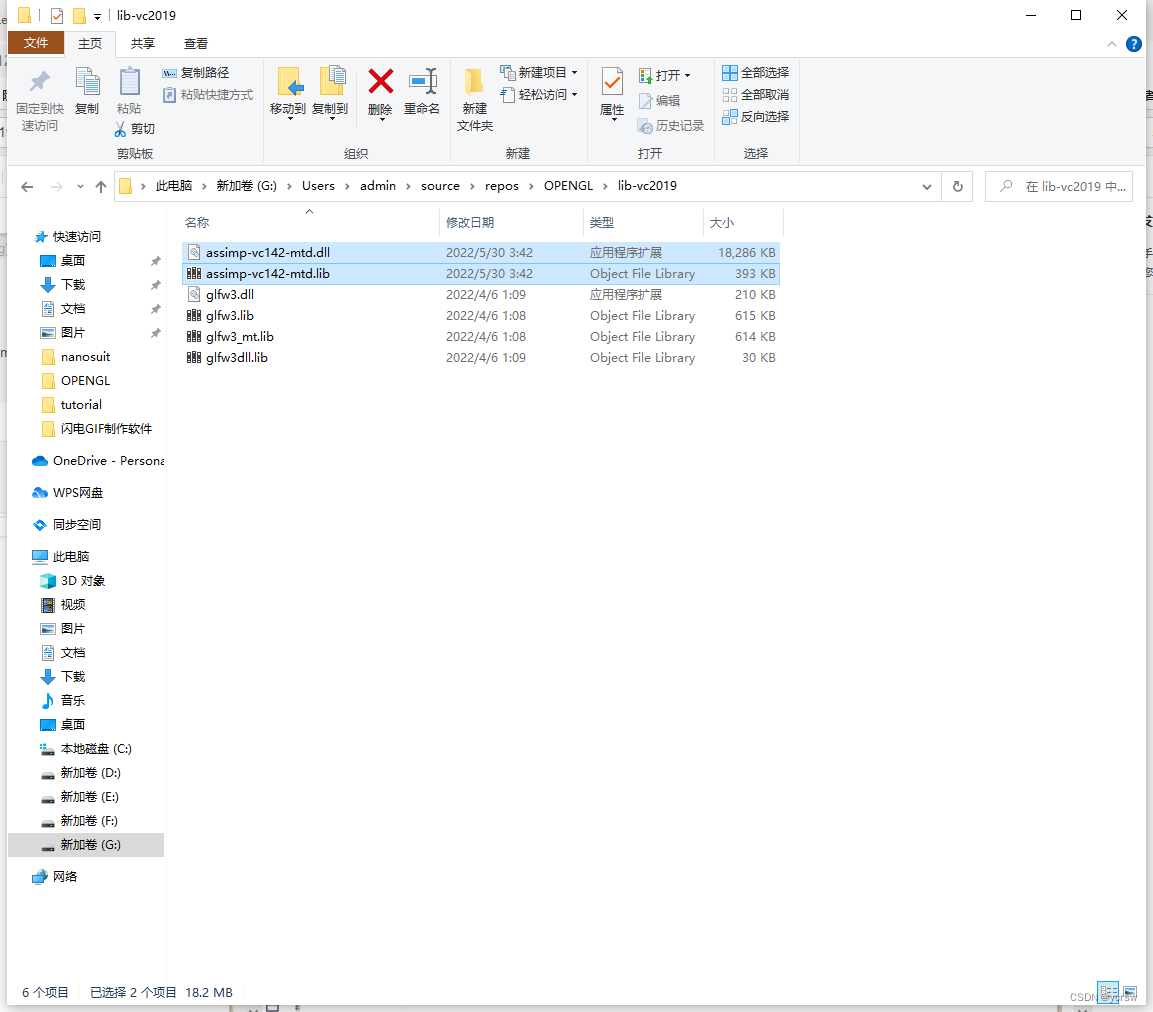 别忘了设置项目链接器的附加库目录和附加依赖项!
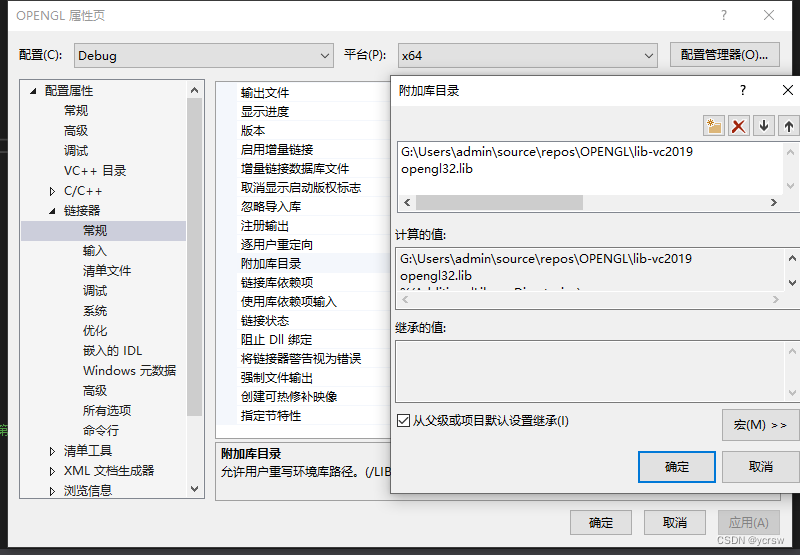
3. 尝试
#include <assimp/Importer.hpp>      // C++ importer interface
#include <assimp/scene.h>           // Output data structure
#include <assimp/postprocess.h>     // Post processing flags
#include <iostream>

#pragma comment (lib, "assimp-vc142-mt.lib")

void LoadFinish(const aiScene* scene)
{
	std::cout << "LoadFinish ! NumVertices : " << (*(scene->mMeshes))->mNumVertices << std::endl;
}

bool LoadModel(const std::string& pFile)
{
	// Create an instance of the Importer class
	Assimp::Importer importer;

	// And have it read the given file with some example postprocessing
	// Usually - if speed is not the most important aspect for you - you'll
	// probably to request more postprocessing than we do in this example.
	const aiScene* scene = importer.ReadFile(pFile,
		aiProcess_CalcTangentSpace |
		aiProcess_Triangulate |
		aiProcess_JoinIdenticalVertices |
		aiProcess_SortByPType);

	// If the import failed, report it
	if (!scene)
	{
		std::cout << importer.GetErrorString() << std::endl;
		return false;
	}

	// Now we can access the file's contents.
	LoadFinish(scene);

	// We're done. Everything will be cleaned up by the importer destructor
	return true;
}

int main()
{
	LoadModel("bun_zipper.ply");

	return 0;
}
模型下载链接:兔子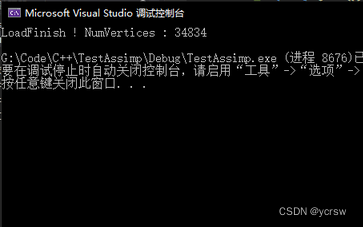
有“AI”的1024 = 2048,欢迎大家加入2048 AI社区
更多推荐


 8
8 0
0- 0


 已为社区贡献4条内容

所有评论(0)