PyQt6 与 Pyecharts 交互:必要操作
PyQt6 与 pyecharts 交互学习
版本信息:
pyecharts 2.0.4
PyQt6 6.6.1
1. 查看.py文件中引用包的位置

参考链接:怎么查看Python包的位置_mob649e8169b366的技术博客_51CTO博客
2. pyqt结合pyecharts
2.1 采用本地资源生成html
步骤一:下载pyecharts-assets-master.zip
下载地址:https://github.com/pyecharts/pyecharts-assets/archive/master.zip
说明:项目文件夹名为class5_3dFigurePyecharts,其中myfigure_main.py为主程序,data_generate.py调用了pyecharts进行作图,myfigure_main调用data_generate。
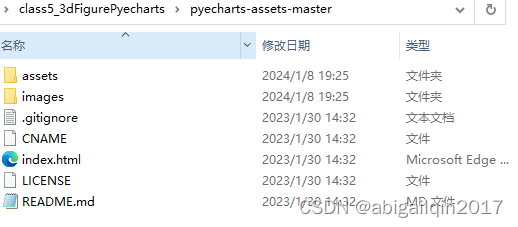
将下载好的pyecharts-assets-master解压,解压后的文件夹即为pyecharts-assets-master。

pyecharts-assets-master内部文件展示
步骤2:data_generate文件(调用pyecharts作图)
文件前面加如下几行内容:
import os
from pyecharts.globals import CurrentConfig
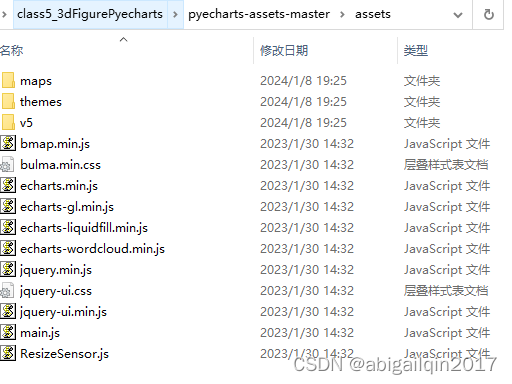
static_resource = os.path.join(os.path.dirname(__file__), 'pyecharts-assets-master', 'assets')
# windows环境下 \ 替换为 /, *nix环境请按需修改
CurrentConfig.ONLINE_HOST = str(static_resource).replace("\\", r'/') + '/'myfigure_main文件直接引用data_generate即可,无需特殊处理。
import sys
from PyQt6.QtCore import QUrl, Qt, QFileInfo
from PyQt6.QtWebEngineWidgets import QWebEngineView
from PyQt6.QtWidgets import QApplication, QDialog, QMessageBox
import myfigure  # Qt Designer生成的ui界面文件
from data_generate import myplot # 调用pyecharts生成html参考链接:pyecharts 采用本地静态资源生成html,离线可访问。 - 知乎
2.2 QWebEngineView显示html
html将在widget_figure(QWebEngineView)中展示。
from PyQt6 import QtCore, QtGui, QtWidgets


class Ui_Dialog(object):
    def setupUi(self, Dialog):
        Dialog.setObjectName("Dialog")
        Dialog.resize(1108, 881)
        self.widget = QtWidgets.QWidget(parent=Dialog)
        self.widget.setGeometry(QtCore.QRect(30, 50, 1041, 801))
        self.widget.setObjectName("widget")
        self.verticalLayout = QtWidgets.QVBoxLayout(self.widget)
        self.verticalLayout.setContentsMargins(0, 0, 0, 0)
        self.verticalLayout.setObjectName("verticalLayout")
        self.label = QtWidgets.QLabel(parent=self.widget)
        self.label.setObjectName("label")
        self.verticalLayout.addWidget(self.label)
        self.widget_figure = QtWebEngineWidgets.QWebEngineView(parent=self.widget)
        self.widget_figure.setObjectName("widget_figure")
        self.verticalLayout.addWidget(self.widget_figure)
        self.verticalLayout.setStretch(0, 1)
        self.verticalLayout.setStretch(1, 20)

        self.retranslateUi(Dialog)
        QtCore.QMetaObject.connectSlotsByName(Dialog)

    def retranslateUi(self, Dialog):
        _translate = QtCore.QCoreApplication.translate
        Dialog.setWindowTitle(_translate("Dialog", "Dialog"))
        self.label.setText(_translate("Dialog", "My Figure"))


from PyQt6 import QtWebEngineWidgets
这里没有复杂处理,仅展示一个已经生成的html图作为示范。
from PyQt6.QtWidgets import QApplication, QDialog, QMessageBox
import sys
import myfigure
from PyQt6.QtCore import QUrl, Qt, QFileInfo

from data_generate import myplot


class Ui_3DFigure(myfigure.Ui_Dialog, QDialog):
    def __init__(self):
        super().__init__()
        self.setupUi(self)
        myplot()
        url = QUrl("file:" + QFileInfo("all_figures.html").absoluteFilePath())
        self.widget_figure.load(url)
        self.show()
2.3 pyinstaller
问题一:打包报错:No such file or directory: 'C:\\Users\\x\\AppData\\Local\\Temp\\_MEI6362\\pyecharts\\datasets\\map_filename.json'
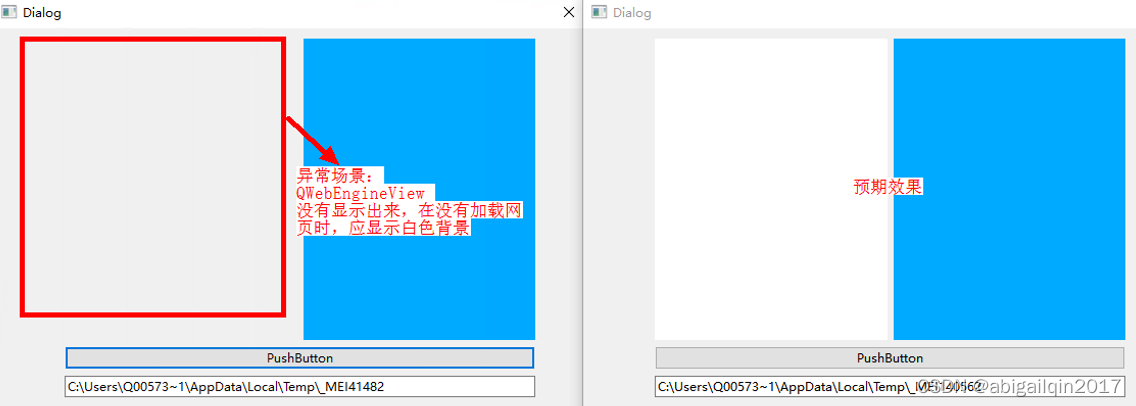
问题二:运行后显示空白,assets文件夹没有包进去
参考链接:解决办法之pyinstaller打包pyecharts报错问题_python pyinstaller filenotfounderror: [errno 2] no-CSDN博客
打包时要使用--add-data命令,解决问题一和二。
打包命令:(其中pyecharts包所在位置查询参考<1>)
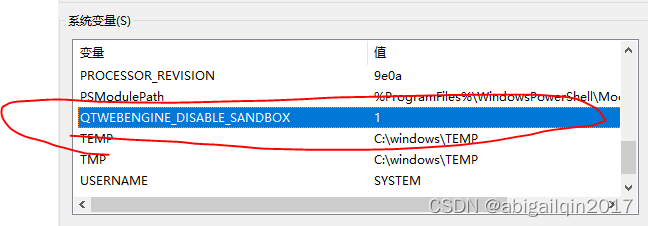
pyinstaller -F -w myfigure_main.py --add-data C:\Users\q00573389\AppData\Roaming\Python\Python39\site-packages\pyecharts\render\templates;pyecharts/render/templates --add-data C:\Users\q00573389\AppData\Roaming\Python\Python39\site-packages\pyecharts\datasets;pyecharts/datasets --add-data pyecharts-assets-master\assets;pyecharts-assets-master/assets问题三:本机运行正常,用pyinstaller打包为exe程序,换另一台win10电脑,运行exe程序,不显示QWebEngineView界面,QWidgets能正常显示。
参考链接:
python - QWebEngineView not showing anything on Windows 10 - Stack Overflow
pyqt5 - QWebEngineView not working with PyInstaller - Stack Overflow
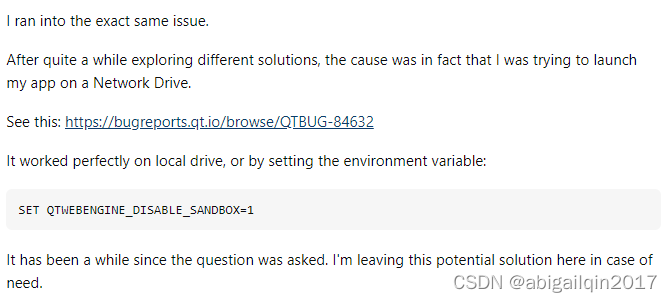
解决方法:增加环境变量QTWEBENGINE_DISABLE_SANDBOX
3. 交互1: 将鼠标点击html页面某点时的提示框信息在PyQt界面显示
PyQt6与Pyecharts交互:将鼠标点击html页面某点时的提示框信息在PyQt界面显示-CSDN博客
4. 交互2:增加进度条显示网页加载进度
PyQt6与Pyecharts交互:增加进度条显示网页加载进度-CSDN博客
有“AI”的1024 = 2048,欢迎大家加入2048 AI社区
更多推荐


 20
20 0
0- 0


 已为社区贡献6条内容

所有评论(0)